By Harpal Singh · · 6 min read
A screenshot on a Mac needs no app and no setup. It needs the right three keys, and macOS has several shortcuts that do slightly different things, which is why people end up searching for the one they used last time.
This is the full set, what each one does, how to send the picture to the clipboard instead of a file, and where the file goes when you do not. Every shortcut below was checked against Apple's support documentation.
What are the screenshot shortcuts on a Mac?
To screenshot on a Mac from the keyboard, use one of these shortcuts, or hotkeys, which also work as the screen capture hotkey for stills:
| Shortcut | What it does |
|---|---|
| Shift-Command-3 | Captures the entire screen |
| Shift-Command-4 | Turns the pointer into a crosshair; drag to capture an area |
| Shift-Command-4, then Space | Turns the pointer into a camera; click a window or menu to capture it |
| Shift-Command-5 | Opens the Screenshot toolbar with all of the above, a timer and recording |
| Esc | Cancels a capture in progress, before you release the mouse |
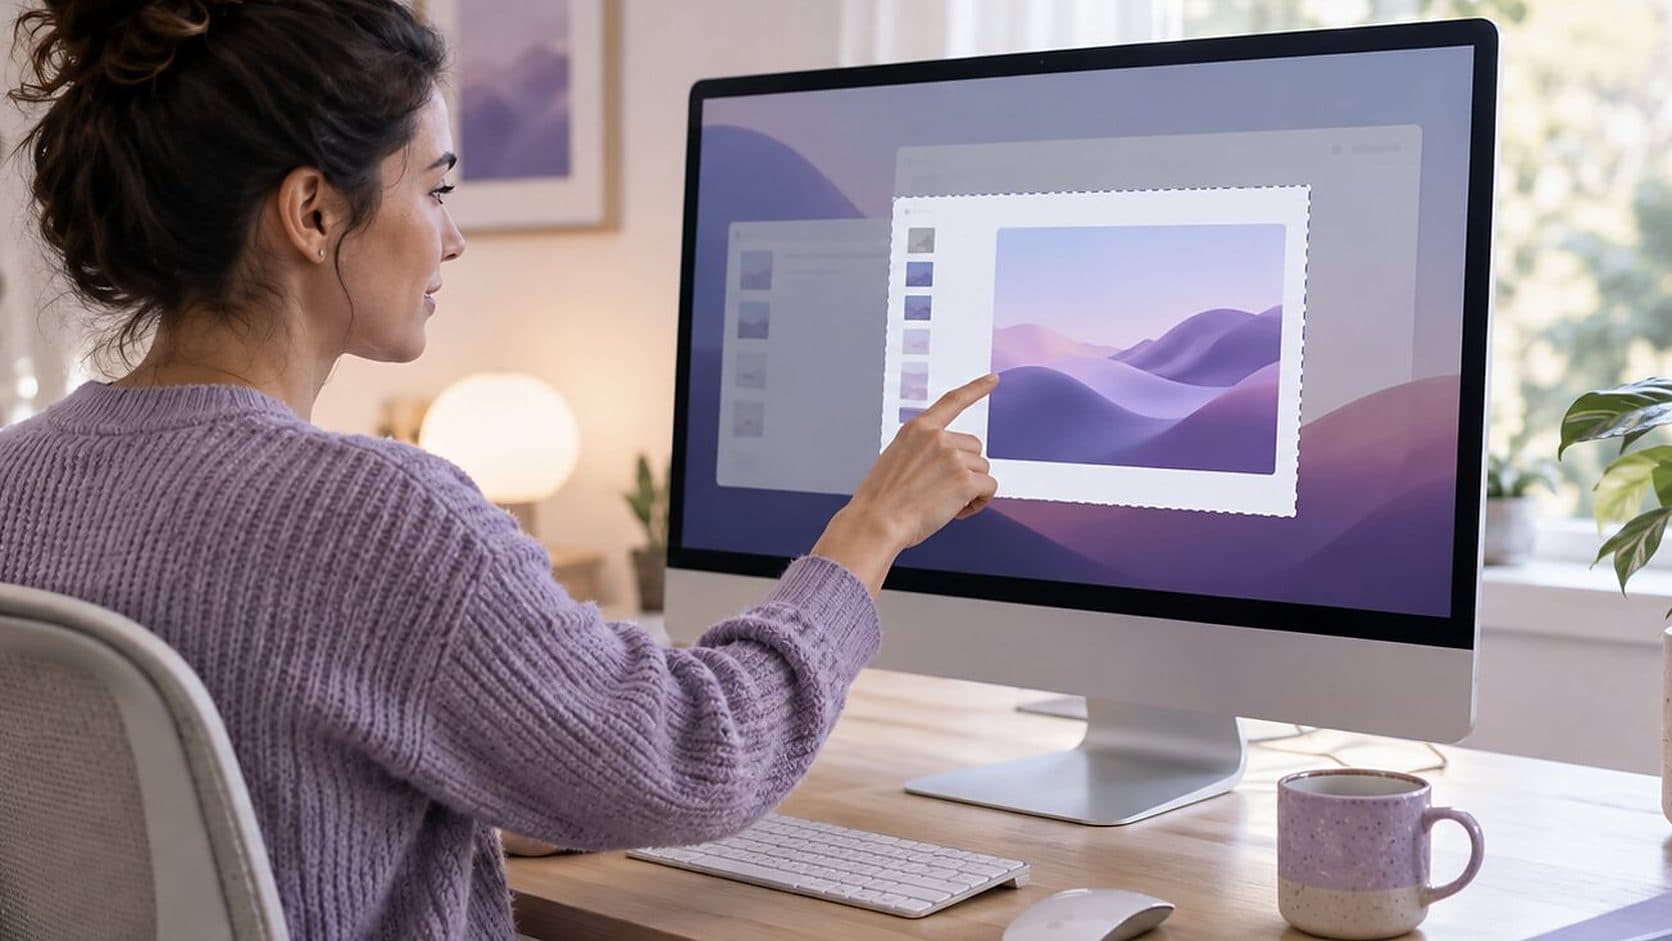
A thumbnail appears in the corner after a capture. Click it to mark it up, drag it into a document, or leave it alone and the file saves to the Desktop.
How do you screenshot part of the screen?
Press Shift-Command-4, then drag over the area you want and release. While you are dragging, hold Space to move the selected area without changing its size, which is the way to line up a box you drew slightly off. To abandon it, press Esc before you let go of the mouse button.
How do you screenshot one window?
Press Shift-Command-4, then the Space bar. The pointer becomes a camera and each window highlights as you move over it; click the one you want. By default the capture includes the window's drop shadow. Hold Option while you click and the shadow is left out, which gives a cleaner edge for a document or a slide.
How do you copy a screenshot to the clipboard?
To screen clip on a Mac, meaning to copy a screenshot instead of saving a file, add Control to any of the capture shortcuts: Control-Shift-Command-3 for the whole screen, or Control-Shift-Command-4 for an area. The image goes to the clipboard instead of the Desktop, ready to paste into a message, a document or a design tool with Command-V. You can also Control-click the thumbnail and choose Save to Clipboard, which is how to screenshot and clip a capture you have already taken.
Where do screenshots go on a Mac?
To the Desktop, by default. The file name carries the date and time and starts with Screenshot or Screen Shot, depending on your version of macOS, and the default format is PNG.
To change the folder, press Shift-Command-5, click Options and choose a location under Save to. On supported Macs running macOS Tahoe 26 or later, Options also lets you choose the capture format: SDR, which uses PNG, or HDR, which uses HEIF.
What does the Shift-Command-5 toolbar add?
Press it and a toolbar appears with buttons for the whole screen, a window or a portion, and two recording buttons. Its Options menu adds a timer, so you have time to open a menu before the capture fires; Show Mouse Pointer, which includes the cursor; Show Floating Thumbnail; and the save location. It is the closest thing the Mac has to a Snipping Tool, and it is the same toolbar used for screen recording on a Mac.
How do you crop a screenshot on a Mac?
Click the thumbnail that appears after the capture to open the markup editor, which includes crop and annotation tools. For a file you already saved, open it in Preview and use Tools > Crop. If you only want part of the screen, it is quicker to capture just that part with Shift-Command-4 in the first place.
Is there a Terminal command for screenshots?
Yes. The built-in screencapture command takes a screenshot from the command line, which is useful in scripts. A few of its options:
screencapture -i image.pngcaptures interactively by selection or window.screencapture -csends the capture to the clipboard.screencapture -T 5 image.pngwaits five seconds before capturing.screencapture -v clip.movrecords a video of the screen.
It is the same engine as the keyboard shortcuts, and it is the answer to "how do I take a screenshot from a script".
Screenshot or screen recording?
A screenshot is a still: one moment, no sound, a single file. It is right when the thing you need to show is a state, such as an error message, a setting or a layout.
A screen recording is right when the answer is a sequence: how to get to a setting, why a layout breaks when you scroll, what happens after a click. If you find yourself taking five screenshots and numbering them, that is a recording. How to screen record on a Mac covers the same toolbar for video, and how to screen record with audio covers the sound.
Do the shortcuts work on older Mac OS X?
Shift-Command-3 and Shift-Command-4 have been the screenshot shortcuts since the early days of Mac OS X, often written OSX, and the Shift-Command-5 toolbar arrived with macOS Mojave. The shortcut keys for a screen capture are the same on current macOS for stills.
What is the difference between a screen grab, a snip and a snapshot?
Nothing, on a Mac: a screen grab, a snip, a snapshot of the computer screen, a screen pic and a screen clipping are all a screenshot, and they share the same keys, Shift-Command-3 for the whole screen and Shift-Command-4 for a selection. One limit is worth knowing: a full page screen capture on a Mac is not built in. macOS captures what is on the screen, not what is below it, so for a long web page, scroll and capture in parts or use the page's own save-as-PDF. Screenshot software for a MacBook is mostly unnecessary because the built-in tools cover most needs, and a third-party app mainly adds annotation. A video of the screen is a screen recording, covered in how to screen record on a Mac.
Can a Mac take screenshots automatically?
Not on a schedule, out of the box. The Screenshot toolbar has a timer, which waits a few seconds before capturing, and that is the built-in answer to wanting a capture without touching the keys. For auto screen capture at intervals, the screencapture command can be run from a script or a scheduled task, and an automatic screen capture tool is usually built that way. A recording is a better answer when you want the sequence rather than a series of stills.
Where does ReScreen fit?
ReScreen records video. It does not take screenshots, annotate images or copy a region to the clipboard, and it is not trying to. If most of what you capture is still images, a capture tool is the better purchase, and ReScreen vs CleanShot X explains the trade honestly. If what you need is video that zooms into clicks, shows a readable cursor and exports up to 4K, see the screen recording feature, compare the options in the best screen recorder for Mac, and download ReScreen for macOS.
Filed under