By Harpal Singh · · 4 min read
A screencast is the simplest teaching video there is: your screen, your voice, one task. The word comes from software tutorials and developer walkthroughs, and the format has not changed much because it does not need to. What separates a screencast people finish from one they abandon is almost never the recording tool. It is the preparation, and the edit.
How do you plan a screencast?
Decide three things before you press record.
- The one task. A screencast that teaches "how to set up a webhook" can be finished. One that teaches "everything about webhooks" cannot. If you cannot say what the viewer will be able to do at the end in one sentence, split it.
- The route. Walk through the steps once without recording and write the clicks down. The aim is to remove the moments where you hunt for a menu, because those are the moments a viewer loses you.
- The first ten seconds. Say what the viewer will have at the end, and then start. A long introduction is the most common reason people click away.
A script does not need to be word for word. A list of the steps, in order, is enough, and it keeps your voice natural. How to make software tutorial videos customers actually finish goes further into the structure.
How should you set up the screen?
Most of the work of a readable screencast is done before recording.
- Close everything that is not part of the task, and turn on Do Not Disturb so a notification does not arrive mid-sentence.
- Increase the size of what matters. In a terminal or an editor, raise the font until it is readable on a phone. Viewers watch on small screens.
- Use a clean desktop, or record one window or a region rather than the display.
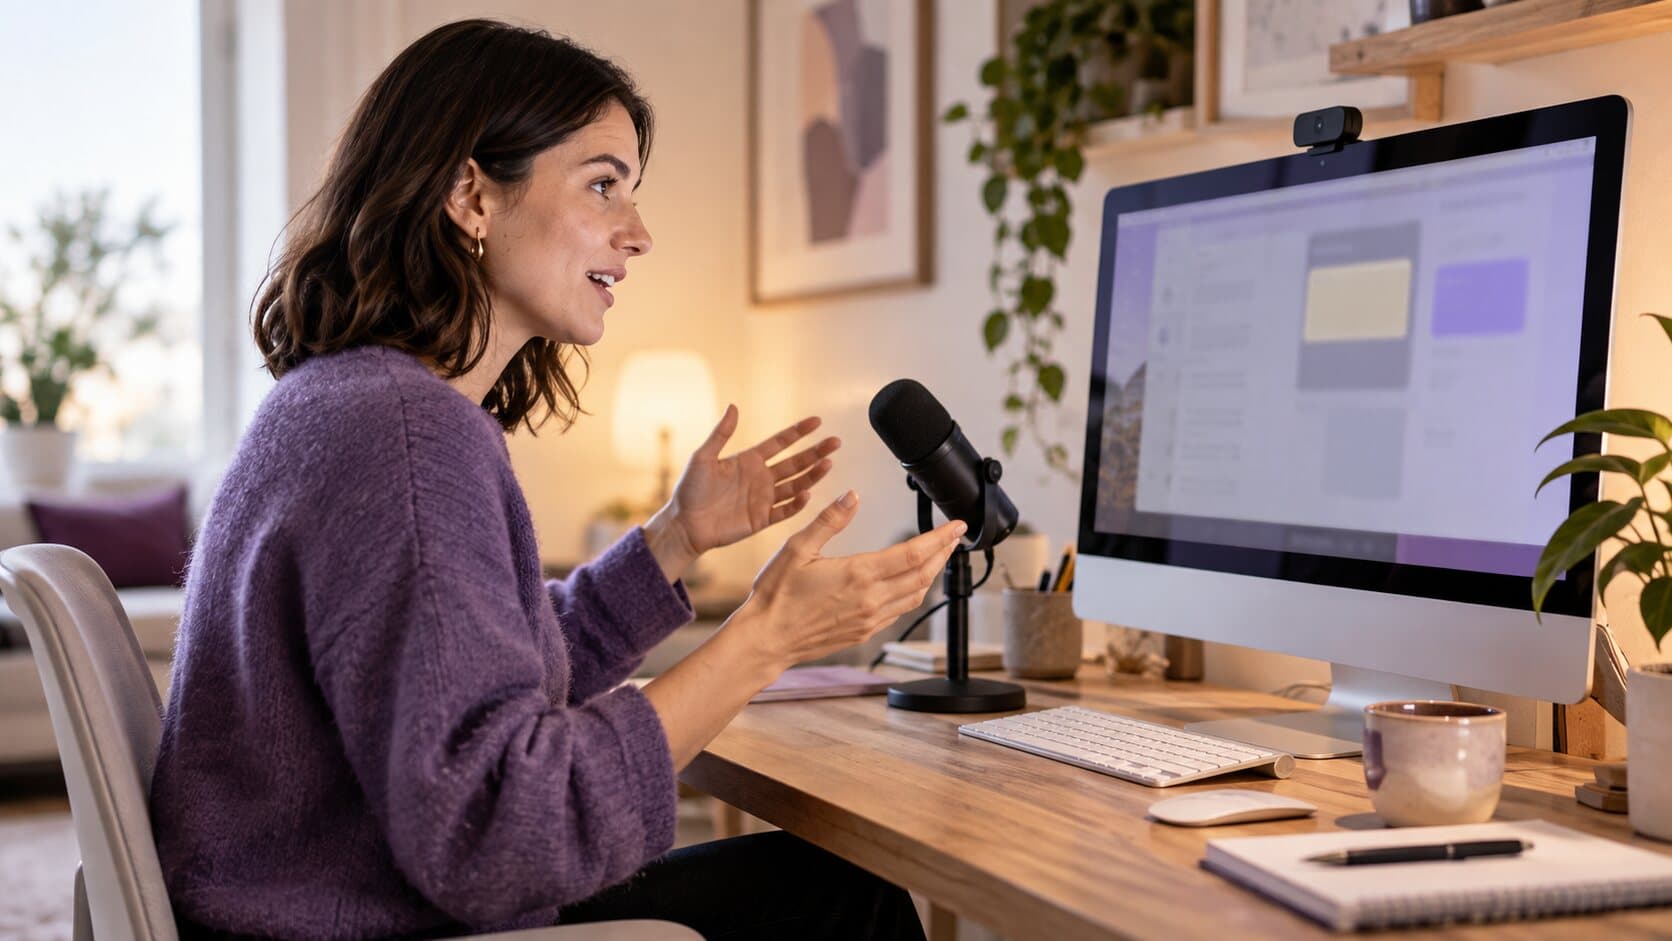
- Check the sound. Put on headphones, speak a sentence and check the level meter.
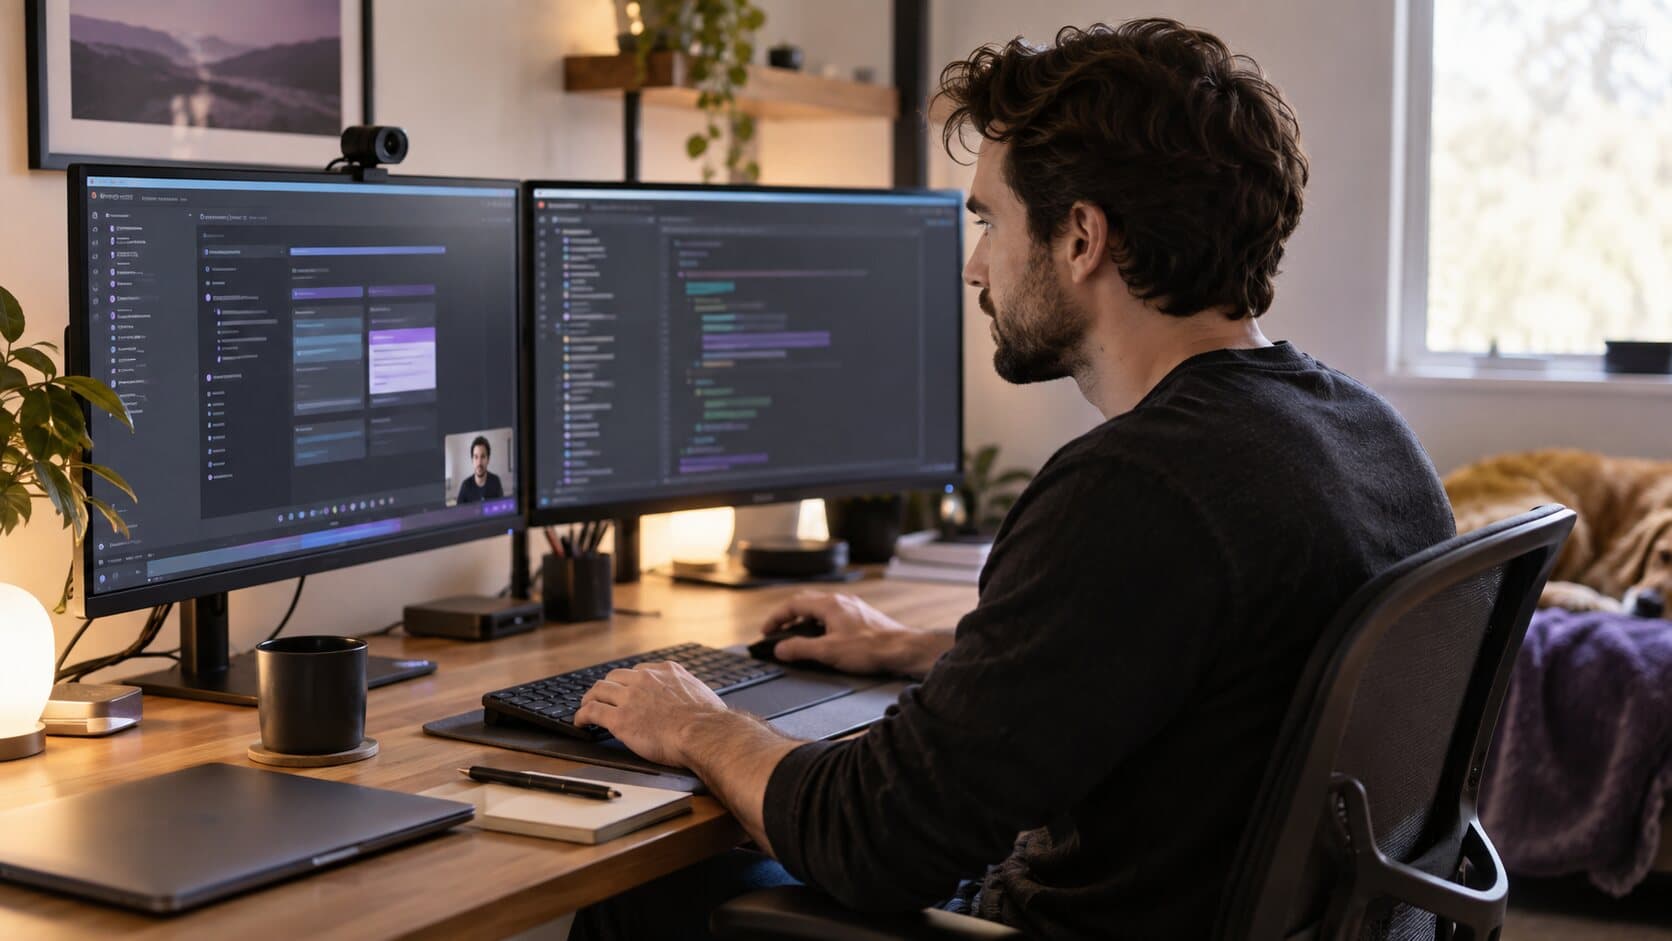
For a coding screencast, the same applies with more weight: a larger font, a cleared terminal, a prepared project that builds without waiting, and the narration describing intent before typing. Screen recording for developers covers bug reports, pull request demos and walkthroughs.
How do you record a screencast on a Mac?
The built-in route is Shift-Command-5, which records the whole screen or a selected portion with a microphone and saves a .mov. It is enough for a quick one, and how to screen record on a Mac covers it step by step.
With ReScreen:
- Choose a window, application or region.
- Switch on the microphone, and system audio if the app makes sound.
- Press ⌥⌘R, speak, and press it again to stop.
- The take opens in the editor, with zooms already built from your clicks if you allowed Input Monitoring, which is what lets it see them.
Talk as if to one person. If you make a mistake, pause, then say the sentence again; you will cut the gap in the edit.
How do you edit a screencast?
The edit is where most of the time goes, and most of it is avoidable.
- Cut the stumbles. Split before and after the mistake and ripple-delete the gap, which closes it.
- Speed up the waiting. A progress bar or a build running at double speed saves the viewer's patience.
- Let the zooms do their job. Check each one lands on what you meant, and delete the ones that do not.
- Watch it back at the size it will be seen, on a laptop or a phone.
In ReScreen, Smart Zoom builds the zooms and the timeline editor handles the cuts, so an edit is minutes rather than an evening. How to edit screen recordings faster is a short workflow for exactly this.
How do you export a screencast?
For a website or a course platform, export MP4 with H.264, which plays everywhere. For a screen full of small text, record at the display's real resolution and export at 1080p or 4K, depending on how it will be watched. If the video is going to a feed, a vertical or square export is a canvas choice, not a second recording; vertical video covers it.
What makes a screencast fail?
- It is too long. Cut anything that does not serve the task.
- The cursor is invisible. Make it larger and show clicks; viewers can't see what you click covers the fixes.
- The sound is poor. A quiet voice under loud app audio is hard to listen to, and separate tracks make it fixable.
- The pace is too fast. Slow down for the click that matters, and pause after it.
- There is no ending. Say what to do next, and link to it.
Screencast guides and editing tips
If you want to go further, there are two kinds of guide worth reading: guides to the content, such as software tutorial videos and programming video documentation, and tips for the edit, such as editing screen recordings faster. The editing tip that matters most for a screencast is to cut the pause before you cut anything else: dead air is the most noticeable flaw and the cheapest to fix.
Which screencast software should you use?
QuickTime Player or Shift-Command-5 for a quick clip. OBS Studio when you are streaming live. A recorder built for demos and tutorials, with zooms, a readable cursor and an editor, when the screencast has to look finished: the best screen recorder for Mac, by job sorts them honestly. When you are ready, download ReScreen for macOS.
Filed under