By Harpal Singh · · 5 min read
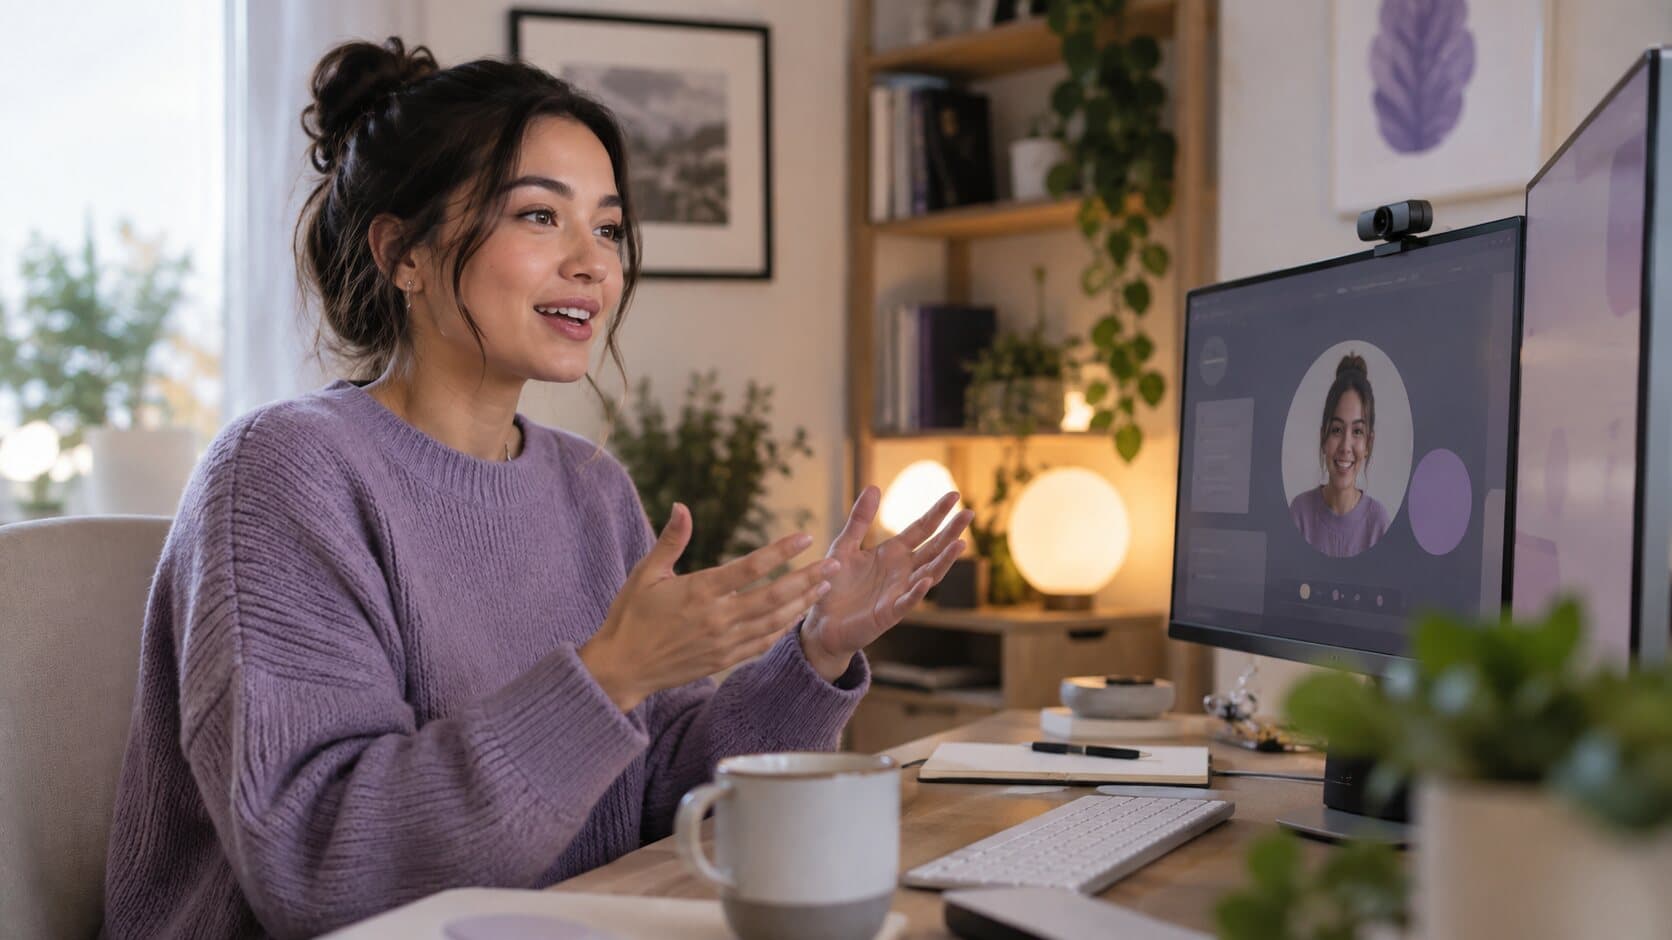
There are two different jobs hiding in "record yourself on a Mac". One is a video of you and nothing else: a message to a colleague, a recording for an application, a talking-head clip. The other is you appearing in the corner of a screen recording while you explain what is on it. A Mac handles the first well on its own. The second needs a bit more.
How do you record yourself with the built-in camera?
The quickest route is QuickTime Player.
- Open QuickTime Player from the Applications folder.
- Choose File > New Movie Recording.
- Click the arrow beside the Record button to choose the camera and microphone, and the quality.
- Click Record, speak, and click Stop.
- Choose File > Save to name it and pick a location.
The options are listed in Apple's QuickTime Player guide. Photo Booth is the other built-in option: switch it to video mode and click the red button. Both give you a movie file, and both will open on any Mac. Neither does anything clever, which is the point.
How do you get a good picture from a Mac camera?
A built-in webcam is small and has a limited sensor, so light and position do most of the work.
- Put the light in front of you, from a window or a lamp behind the screen. A window behind you turns you into a silhouette.
- Raise the camera to eye level. A laptop on a stack of books is a better camera upgrade than any setting.
- Look at the lens when you make the key point, not at your own picture.
- Use an external camera or Continuity Camera if you have one. An iPhone can serve as the Mac's camera on macOS 13 Ventura or later, and its sensor is far better than a built-in webcam.
- Check the sound. A webcam's microphone is the weakest part of the setup. A headset or an external microphone makes a bigger difference to how professional you sound than the picture does.
How do you record your screen and your webcam together?
The built-in tools record one or the other: the Screenshot toolbar records the screen, QuickTime's Movie Recording records the camera. To get both in one video you need a recorder that composites them, and it is the place where people end up searching for a screen recorder with a webcam.
ReScreen records the camera as its own track alongside the screen, the microphone and system audio. You switch the camera on in the Record screen and see it laid out on a miniature of the finished video. Afterwards, in the editor, you decide the shape, size, position, border and shadow. Camera and audio lists the devices it supports, including external cameras and Continuity Camera.
Where should the webcam sit in the frame?
The usual answer is a circle in a bottom corner, large enough to show a face and small enough not to hide the interface. A rounded square suits a more formal tutorial, and a larger rectangle suits a talk. Webcam overlay shapes: which shape, size and position to use gives recommended values for each case. In ReScreen the framing steers around the camera bubble, so a zoom does not crop the thing it was pointing at.
Can you change what is behind you?
Yes, which matters when the room is not presentable. ReScreen finds you in the camera picture on your Mac and lets you keep the room, remove it so you sit directly on the recording, blur it or put a colour behind you. It uses macOS's own person segmentation, needs no green screen and runs on the Mac rather than on a server. Because the camera is stored untouched, you can change the look at any time. See webcam background removal for each look.
What does ReScreen not do?
It does not record the camera on its own. The camera is always an addition to a display, window, application or region. If you want a clip of only your face, QuickTime Player or Photo Booth is the right tool and costs nothing. ReScreen earns its place when the screen is in the shot.
What settings suit talking to a camera?
Keep it simple and quote the numbers you will need.
- Resolution: record the screen at its real resolution and let the camera run at full HD, which is plenty for a bubble in a corner.
- Frame rate: 30 FPS is fine for a talking head; use 60 when the screen has a lot of motion.
- Audio: switch on the microphone and check the meter before recording, and put on headphones if the app will make sound.
How do you film a video on a Mac, and where should you sit?
To film a video or film yourself on a Mac or a MacBook, the built-in camera, QuickTime Player and Photo Booth are all you need. The camera sits above the screen, so center your face in the webcam preview on the screen, with the camera at eye level and the light in front of you, then look at the lens rather than at your own picture. If you also record the screen, the camera bubble can be moved afterwards in the editor, so you do not have to get it right while talking. Webcam recording tips on a Mac come down to light, sound and a clean background: check the preview, keep the microphone close and turn off notifications.
How do you test your webcam on a Mac?
You do not need an online webcam test. Open Photo Booth or QuickTime Player's New Movie Recording and the camera's picture appears, which is the whole test. If the screen stays black, check that the app is allowed to use the camera under Privacy & Security in System Settings, and that no other app is holding it. To check the camera before a call, open Photo Booth, look at the framing and the light, and close it again. A site like webcamtest, or any online camera test page, does the same through a browser and asks you to allow camera access to a website, which the built-in apps never need.
Which should you use?
For a video of you, use QuickTime Player's New Movie Recording. For a video of you explaining a screen, record both at once so the tutorial, demo or update does not need stitching together afterwards. The same idea is covered from the screen side in how to screen record on a Mac, and how to make a screencast covers the planning that comes before any of this. When you are ready, download ReScreen for macOS.
Filed under